The Simple Car Camping Kitchen Setup I Used for 2 Years
I detest influencers who make cooking while car camping look like it’s a good time.
While it looks awesome in photos, the reality is that it’s frustrating.
I know. I lived in my SUV for 2 years.
You’re constantly running out of fuel, food goes bad often, and my least favorite part – you have to “wash dishes” without a sink.
I finally built a car camping kitchen that’s simple, works really well (for easy meals) and is relatively easy to clean.
It’s compact and makes real meals possible on the road.

I’m sorry for starting out so negatively. SUV camping is awesome and those two years I spent traveling were the craziest adventure of my life.
But the kitchen was a big point of frustration for me for a long time. I mean, you eat 3 times a day!
And Lala and I were cooking all our meals because it’s cheaper.
So, you can bet I tried really hard to find a minimalist setup with which I could still make good, healthy meals. Just, a little more easily and taking up less space.
In this guide, I’ll be showing you EVERYTHING that goes into my car camping kitchen.
Disclosure: This blog has affiliate links, and it’s how I can keep doing what I love. If you book something, I might make a commission with no added cost to you. Thanks for the support!
Why Car Camping Kitchens can Suck
There are two problems people run into, and I did both, when setting up their “kitchenette” for car camping.
The first problem is you try to go too minimalist. You end up getting cheap stuff that costs you more in the long run. That’s one way to get frustrated and end up eating out every day.
The second problem is to believe the influencers who make 4-course meals from their fancy van and overdo it (newsflash: they’re getting paid to smile). This leads to 2 different problems:
- You now have no space in your car or SUV because you bought all the fancy kitchen gear
- You now have to wash all of this
I made both of these mistakes at the same time.
I initially got a two-burner stove from Walmart. It only lasted a few days.
First, it didn’t work very well. The gas went into it from one side, and that burner had a strong flame while the other burner was weak. At that point, it’s pretty much a single-burner stove.
Then, it was also bulky. It was hard to store in the car, whereas our new single-burner stove just goes under the driver’s seat. And these stoves are so big that you really need a big, flat space to make food on it.
The two-burner stove also meant we would need more kitchenware like pots and pans.
That’s thankfully in the past, and we’ve come out stronger on the other side. Now, we hace a setup that’s fast, tidy, and packs tight.
Funny Memory: Our Very First Night Car Camping
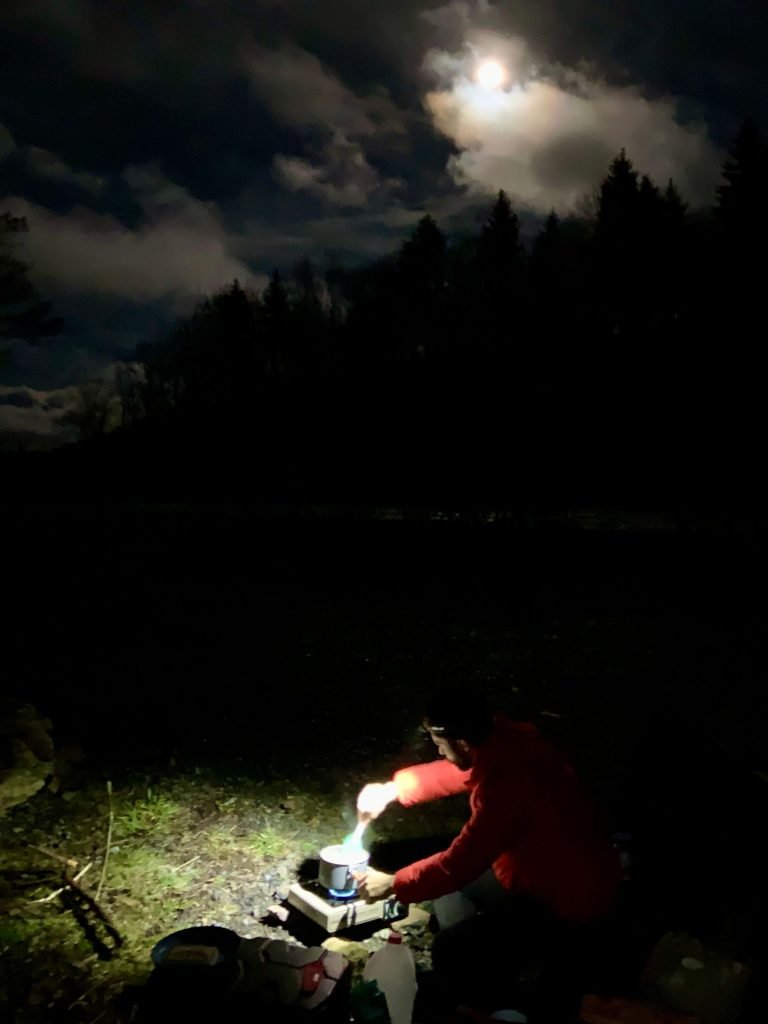
The first night we ever slept in our SUV, we had all our gear and were super excited to take on the great outdoors. We bought some food, found a free dispersed site and set out to make food.
These are all the newbie mistakes we made that night:
– We bought veggies and cut them all on a tiny cutting board
– We bought raw chicken breast because we wanted to be healthy
-We boiled dry rice and lentils ‘cause health
– The rice was BROWN RICE!!
It took like an hour to make all this… and the dishes? There was so much to wash, and we didn’t even have our 7-gallon jug at the time!
The problem here was trying to cook like we were at home. But we weren’t. We were SUV camping in the middle of the Monongahela National Forest.
That was our first sign that we had to figure out a much simpler system – and we did!
How I Built My Car Camping Kitchen
I tweaked my setup until I was happy with it, and there were three things that were important to me: it needed to be compact, durable and low-maintenance.
The focus was on it being a simple system.
Once I had that, I stopped tinkering.
In the end, my car camping kitchen was made up of these categories, which all work together:
- The actual cooking setup
- Cleanup
- The prep space
- Organization
This is what worked to live and cook in my Subaru Forester, but I would recommend it for any SUV camping adventure.
My Complete Car Camping Kitchen Setup
The actual cooking setup has the most components and is the main focus of this guide, so let’s start with that.
Reliable Breakfast Cookware
I made oatmeal most of the mornings I car camped for those 2 years. This is the cookware I used for that every day:
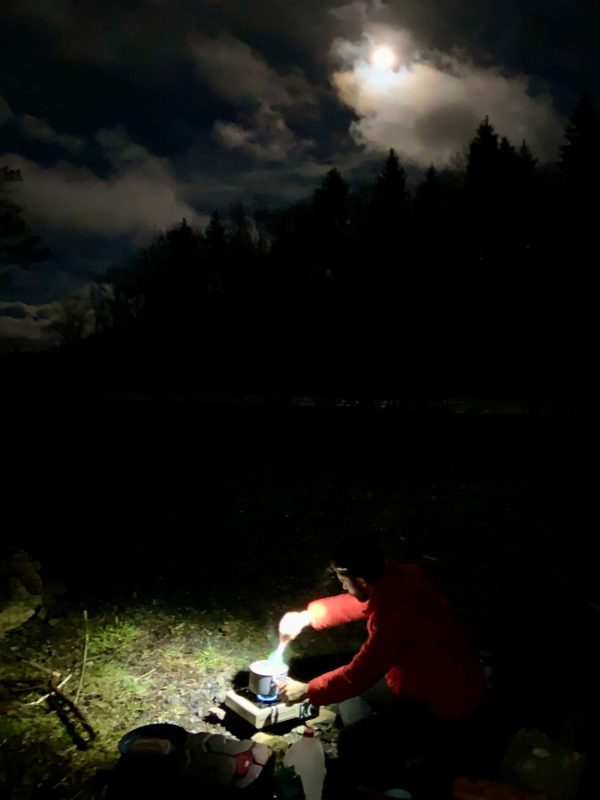
- Pocket rocket: It’s a tiny stove that lives up to its name. It shoots out a really powerful flame, which is why it was perfect for boiling water for my oats (or for when I made ramen). It comes in its own little
- Small fuel: we got these Jet Boil fuel cannisters just for the pocket rocket. There are other brands, and we tried them all, but the Jet Boil lasts the longest. My only issue with it is that it lets out a little hiss of fuel when you connect it to the pocket rocket.
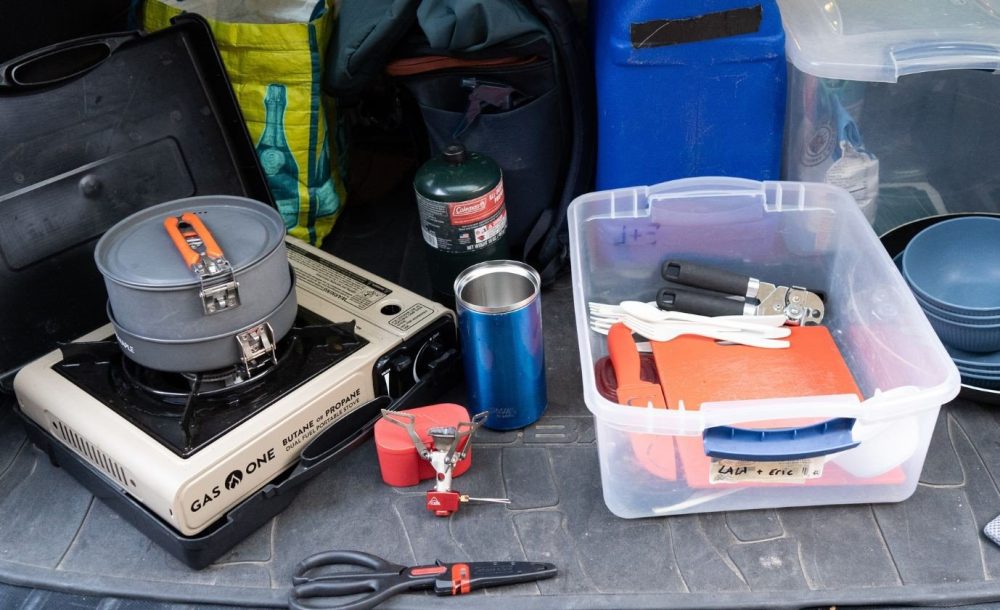
- Fire Maple Cook Set: this cook set is a pot, the kettle we used to boil water, and a small pan we rarely used because it isn’t non-stick. You store all three in each other (see the picture), which helps save a ton of space. We used the pot this set for lunch and dinner too.
- Lighter: any old lighter will do, but here’s the link to the exact lighter we used – it lasted us all 2 years. However, we didn’t buy 4 on Amazon… we bought 1 at a dollar store.
- Coffee: I love coffee but wanted the simplest coffee maker possible. My options were some type of French press, a moka pot, or an AeroPress. In the end, the one with the least parts was this all-in-one French press and mug, which I used every day for two years. It isn’t anything special, so I got some good coffee to make it good (I got 40 oz of Café Verona and it lasted forever).

Making Main Meals
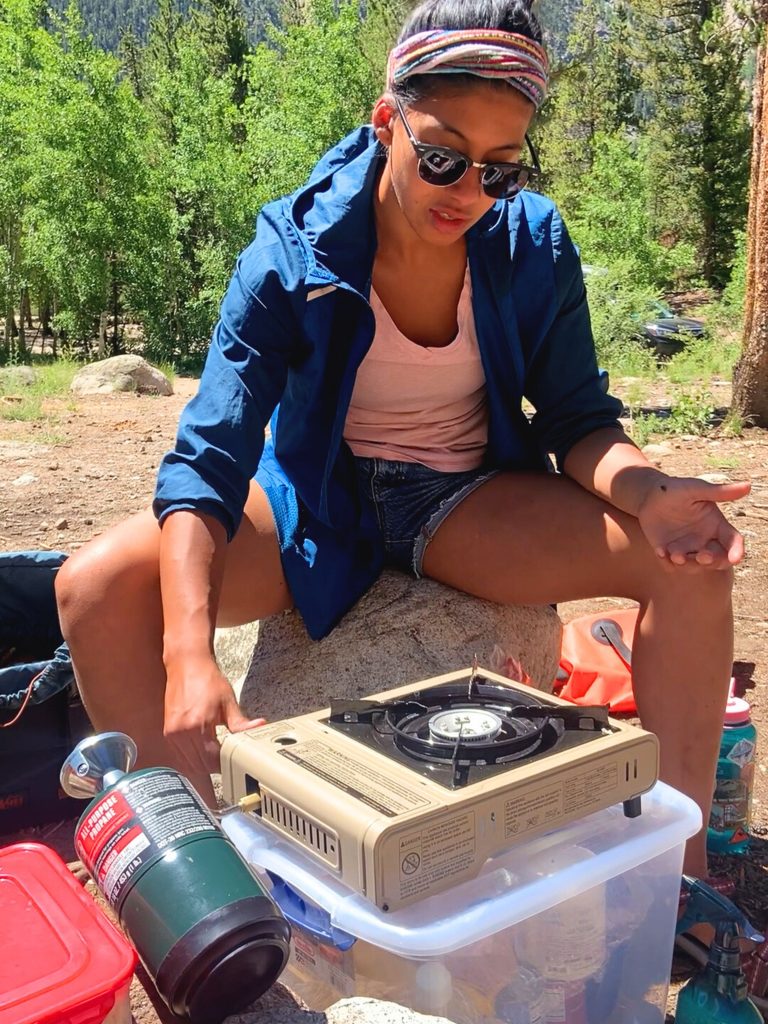
- Gas One Stove: this single-burner stove proved to be amazing! It’s super compact, comes in it’s own cool little case, has a great range of heat and has two fuel options – one for when you want to get going quickly and another for when you have more time.
- 2 fuel options: our gas stove has a compartment where you can quickly connect this butane cannister. It makes it so that you can start cooking in seconds, but these cannisters are smaller and we found they don’t provide good pressure when they’re low. If you have more time, the gas stove has a component that helps you connect this classic propane cannister, which is bigger, lasts longer, and maintains good pressure until it’s out. We always had both.
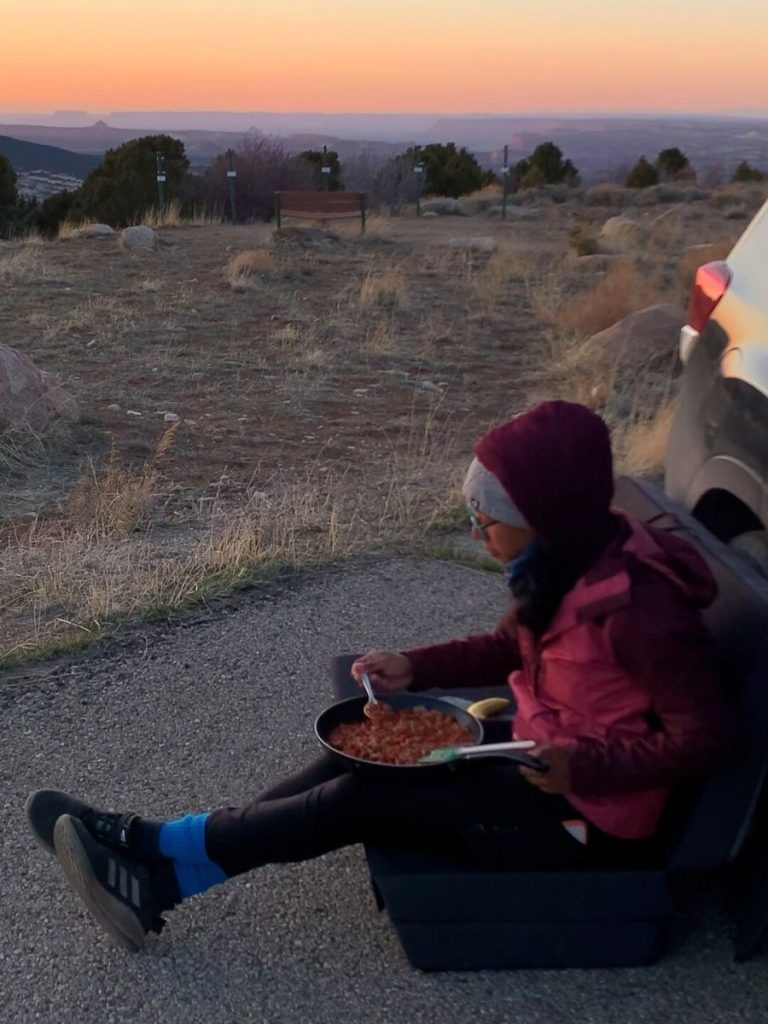
- One 10-inch pan: since the pan in the Fire Maple Cook Set isn’t any good and it’s tiny, we decided to get one 10-inch frying pan. We got a cheap one because we knew it was going to get beat up with our car camping lifestyle, and it’s where we made all our one-pan meals.
- Spoonula: one utensil to rule them all. Ever head of a spoonula? Me neither. But it works as a spatula, for stirring all you one-pan meals, and for serving (or even eating straight out of the pan, which you will do all the time because it means less dishes).

- A Multispice Shaker: this thing has a bunch of spices in one shaker, but it doesn’t actually work THAT well. The spices you use less of get hard and impossible to use. We ended up just buying salt, pepper and lots of individual spices and storing them in our 27-quart bin.
Cleaning Up after a Car Camping Meal
Like I said, cleaning up was my least favorite part of cooking while SUV camping.
However, it wasn’t quite so bad in the end because Lala really put it on herself to find a good cleanup system.
We had two different ways to “wash our dishes,” which depended on the facilities we had at the moment (were we in the middle of nowhere or at more of an established campsite?) and how much energy we had.
Pro tip: save every plastic bag you get, whether it’s a grocery bag or a sliced bread bag. These come in handy every day!
The high-energy way we washed dishes was:
- Biodegradable soap: we’re big fans of Mrs. Meyer’s biodegradable soap because it works really well with oily stuff and smells good. Make sure you get biodegradable soap because we don’t want to be harming the environment by chucking out a bunch of chemicals in the middle of the forest!
Pro tip: FYI, the leftover fat from beef is a million times harder to clean than fat from turkey or chicken, so we rarely cooked beef while car camping. When we did, that’s when we brought out the soap!
- Tiny sponge: need I say more? We got ours at a dollar store.
- Water: We had a 7-gallon water jug that worked extremely well with our setup because it was narrow and tall. It slid right in with all our gear, and we used it for drinking and for rinsing dishes occasionally.
The low-energy way we washed dishes was:
- Spray bottle + white vinegar: this works surprisingly well! Lala started mixing water and vinegar 50/50 in her spray bottle and it solved a lot of our rinsing problems. All you do is spray the mixture on your plates and pans, let it sit a few minutes and then wipe it down with paper towels. You may have to repeat the process to get it nice and clean.
- Durable paper towels: we quickly learned there are hierarchies of paper towels. Some are better than others, but there are a few that are SO GOOD. You can reuse them if they just have water on them, and we used them for everything – not just kitchen stuff.
Pro tip: Where should you wash your dishes? Do it by your car so that you can rinse with your water jug. If you have to dump your water, do it far enough from your car or dump it in your leftover cans.
Finding the Right Prep Space
So, how can you make yourself a nice little “kitchenette” in your car while you’re car camping?
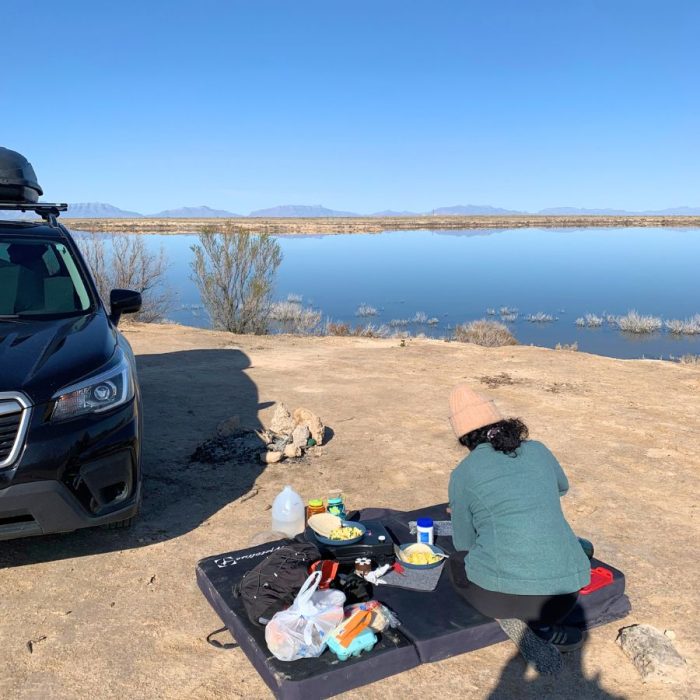
Our set up was far from perfect because, if you’ve seen our picture, you may have noticed a gigantic mattress in the back of our car. No, we didn’t sleep on it (you can read all about our actual SUV camping bed here) – it’s a crash pad for bouldering.

We had to have it because we’re avid rock climbers, but it was a hassle and took up SO much space, which we could have used for a table and camp chairs.
Thankfully, the crash pad works as a sofa too, so it replaced our chairs. And it was often the platform where we made our food too. We’d just lay it out and it was our table… on the ground.
Since you probably won’t have a crash pad, this is what you can do:
- Get yourself a small, foldable table that you can deploy quickly to make a meal. You want it to be small, but big enough to fit your stuff. This camping table is a really good size and it packs small.
- But you really don’t need a table. You can use the back of your SUV as your kitchenette and, if you got the right gear, you’ll have more than enough space to comfortably make a simple meal in the back of your car.
👉 Wondering what cars are the best for SUV camping? Read about the best cars to sleep in here!
SUV Camping Organization
When we first started out, we had everything stored in all our random backpacks and grocery bags. It was a complete mess!
We finally decided we really needed to get our act together, and that’s when the photo you’ve seen of the back of our SUV came into being. The first thing we got were the storage bins:
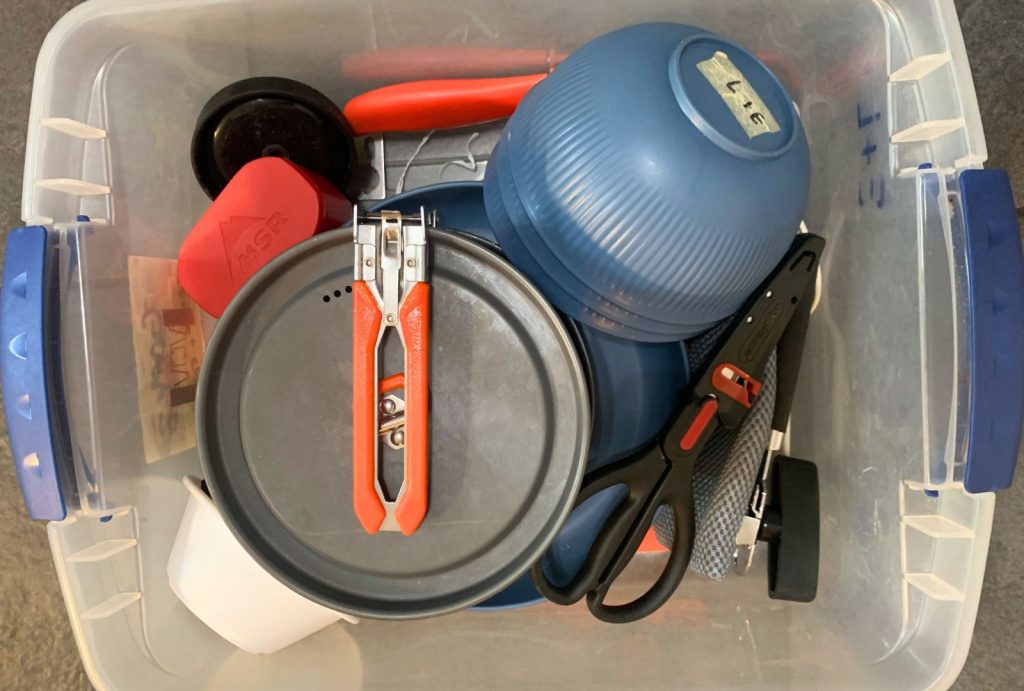
- Bins: we got a 27-quart bin to store most of our non-perishable food and snacks and a 15-quart bin, which always goes on top, for all our kitchen items (the fire maple cook set, breakfast setup, dishes, cutlery, cutting board, lighter, matches, and can opener). The two bins I linked are exactly the ones we used for 2 years, but we got them at Walmart.
- Water: this 7-gallon water jug lasts us more or less 5 days, depending on how much we’re hiking. We use it for washing dishes, drinking, and washing our faces (sometimes our bodies).
- REI Cooler: the cooler you see in the picture is really cool (pun intended). The top is a drawstring bag where all our snacks go. The bottom is a small cooler where we store our perishable food, and it stores 2 to 3 days of food. It also has some practical straps at the front, where we always had a roll of paper towels.
Pro tip: buy frozen meat and use it over 2 or 3 days to keep everything cold and so that you don’t have waste space by buying ice!
- Random grocery bag: of course, there has to be a little bit of chaos, which is why we still have a strong, durable grocery bag to store everything that doesn’t have a place. What we ended up storing in it was our big fuel cannisters, the 10-inch pan, my French press and random stuff along the way. We got ours from Aldi.
That’s where we stored our entire car camping kitchen, except for the stove, which we put away under the driver’s seat.

Finally, everything above is kind of essential, but what about all the small utensils that you don’t necessarily need every day but make a huge difference when you have them?
Here’s a list of super practical utensils we keep in our car camping bins:
Other Useful Car Camping Kitchen Utensils
- Cutlery: these forks, spoons and knives lasted us two years. We were honestly so surprised! They’re a hard plastic, and they’ve proven to be extremely durable. We keep using them now that we’ve settled because they’re so good!
- Plates and bowls: we found our set of plates and bowls at a thrift store, and they were SO good! They turned out to clean really easily, be just the right size and were super durable. I didn’t find out until later that they’re wheat straw dishes. They’re biodegradable but feel sturdy like a strong plastic. If you’d like to try out the exact plates and bowls we used for 2 years, click on those links!
- Sporks: these utensils made their way into our setup towards the end of our travels. They’re a strong but really light metal and my favorite thing is that they’re really long.
- Can opener: of course, we ate a TON of food from cans, and the cheaper cans never have tabs to open them easily. So we had to get a can opener but made sure we got one that would last a long time.
- A sharp knife: we needed a really sharp knife that wasn’t too big and had a protective cover.
- Good scissors: we knew we’d need scissors a lot for packages and random things. That’s why we got these Farberware scissors and they’ve been put to good use. They’ve even cut my hair!
- Cutting board: we used a small cutting board a lot towards the beginning, but stopped using it because who wants to be cutting veggies in the forest? Not me!
- Matches: just because you never know when you’ll need some matches. We got a box of 250 matches and it lasted us 2 years because we only used it occasionally.
Yes, all of this goes in the 15-quart bin, along with the Fire Maple cook set, pocket rocket and small propane cannister. It takes from tetris skills, but it’s doable!
Overall Thoughts and Takeaways
The goal of this setup isn’t perfection – it’s simplicity. Being able to unpack, cook, and clean quickly makes life a lot easier.
And life car camping is not easy, so anything that helps with that is a godsend.
I learned how to make some delicious meals (which I’ll write about soon). And I learned how to make them quick.
Creating a system like that and mastering it feels SO GOOD!
You don’t need a van or expensive gear to eat well on the road. Start simple – with a good stove and a few of the essentials above – and you’ll have your own little car camping kitchenette that isn’t a hassle to use.
👉 Shop all my favorite car camping kitchen gear in one place on Amazon!